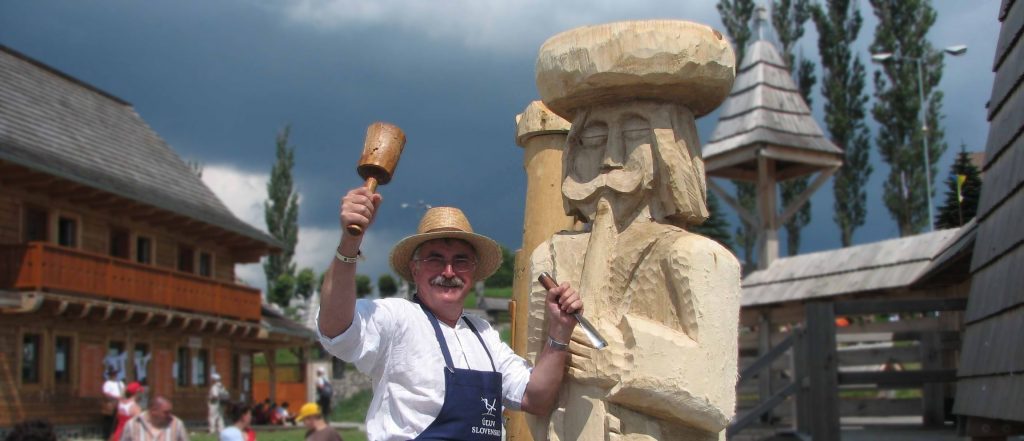

What will I need for woodcarving? How to choose from the variety of tools?
Our respondent is a master woodcarver, ethnographer and lecturer Martin Mešša.
In our woodcarving courses which I have been teaching for fifteen years at the ÚĽUV School of Crafts (The Centre for Folk Art Production), first in Bratislava and now at the ÚĽUV Regional Crafts Centre in Košice, we always start teaching with a knife. A knife with a short blade and an appropriately sized handle is a tool that can always be at hand, be it at the cottage, on a hike, on a hunting or fishing trip.
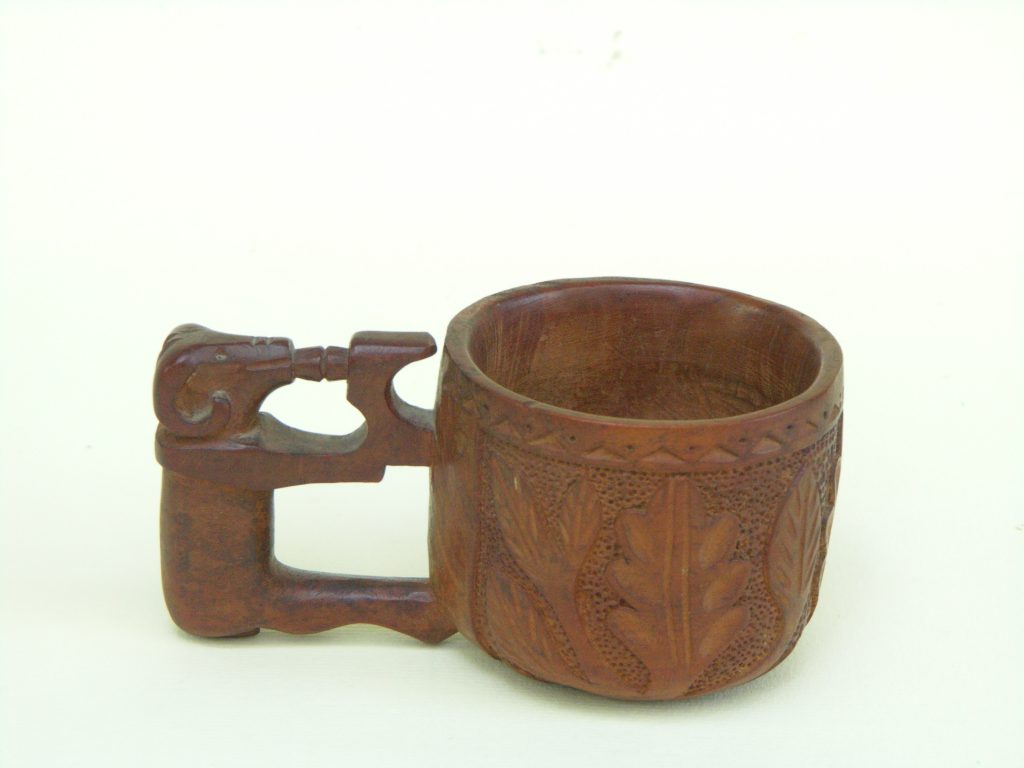
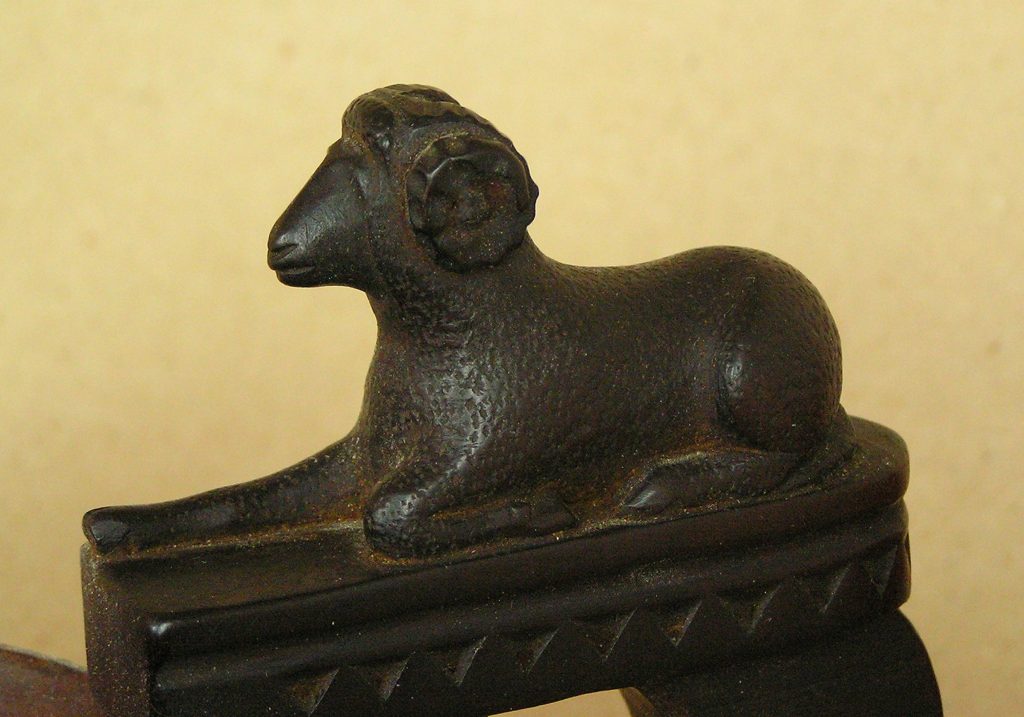
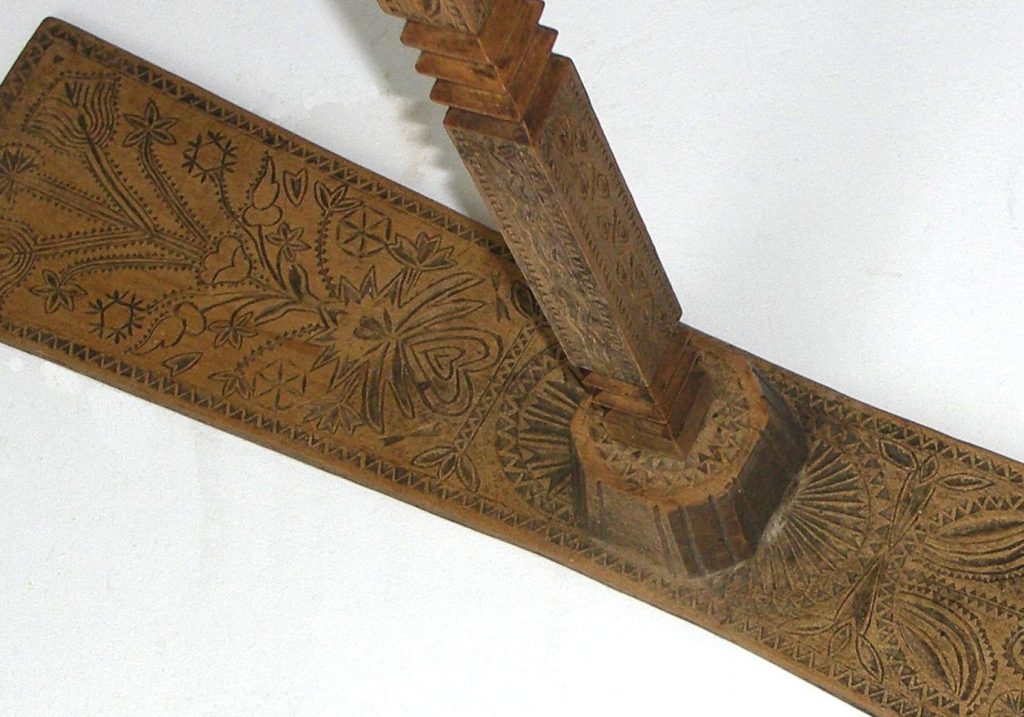
The decorative designs on functional objects, such as traditional shepherd tableware, but also sacral sculptures or everyday objects that have been preserved in museums, are mostly carved with a knife. Linocut (6), grooving on a wooden staff (5), chip carving into the surface or on the edge of the object (4), cutting, punching (1) and simpler reliefs, but also carving of smaller sculptures (2), or intarsia – inserting other wood into wood and marquetry/inlay – inserting other materials into the wood (metal, mother-of-pearl, soot, bone, horn, etc.) as well as pouring into the wood; all this can be done with a simple knife or using a flat chisel.



For woodcarving learners and apprentices, the knife is a basic tool for understanding the properties of wood and the direction of cutting with respect to grain and annual shoot, but also for adhering to the basics of safe carving, especially for freehand carving. Knife carving is also taught in other courses on the basics of woodcarving. In 2001, I took a woodcarving course of Swedish Hemslöjd in the summer school in Sätärglatan near Leksand and also a course led by a renowned carver and promoter of hand-carving, Jogge Sunquist.
At that time, I had been devoted to woodcarving for over twenty years, had successfully participated in various competitions, been a producer for ÚĽUV for twelve years, carved en plein air at home and abroad, but this stay enriched me considerably with a great deal of new knowledge. Later on, we implemented their learning process into our ÚĽUV courses, which we had been organising since the founding of the school of crafts in 2004. What I often see there, is the beginners’ ambition to work with chisels and gouges right away, even if they have not yet mastered knife carving or managed to get the feel of the wood. They don’t understand the wood yet and can’t tell the direction of grain on sight, which often discourages them from woodcarving.
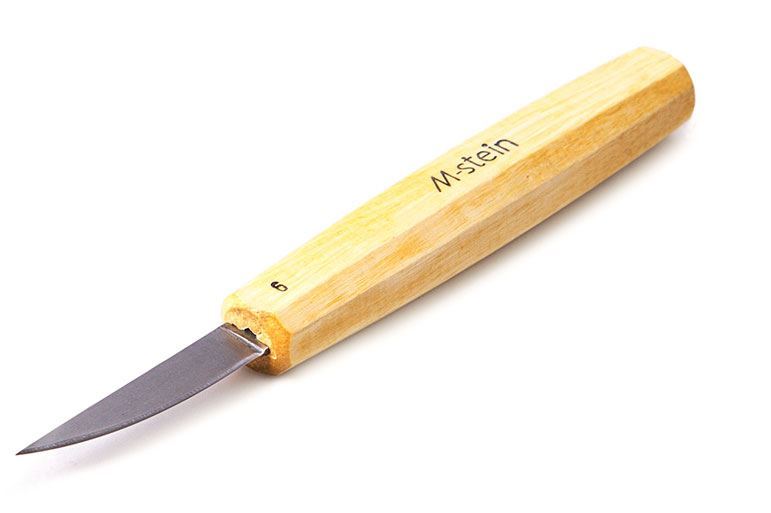
Gouges already require securing the object to the table, but it is still necessary to know all about wood and there really is no better way to learn that than working with a knife. I’ve known and used the knives manufactured by Peter Mészáros for many years and we have also been successfully using them in our courses. We have several types and sizes in our tool-set of knives, gouges and chisels. In my experience, each course participant chooses the one that suits him best, although most of them listen to the lecturer and start with a straight N2 knife with a blade length of 42 mm. When carving relief, the shape and size of N3 knife with an extended blade proved really useful to me.
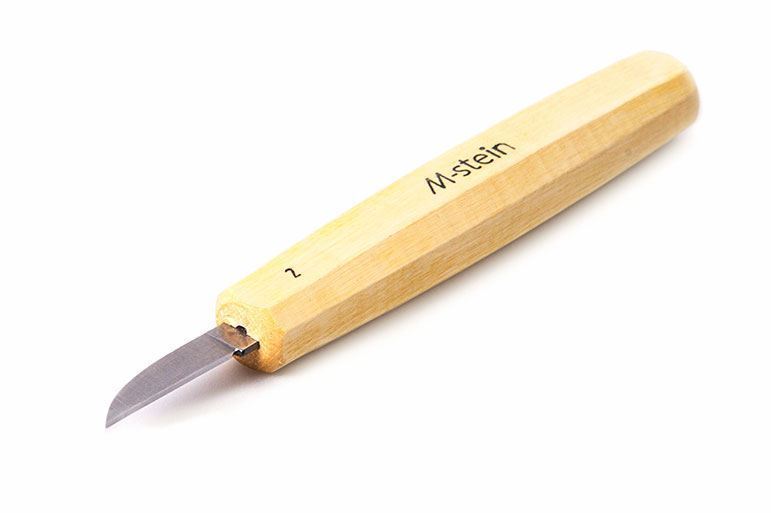
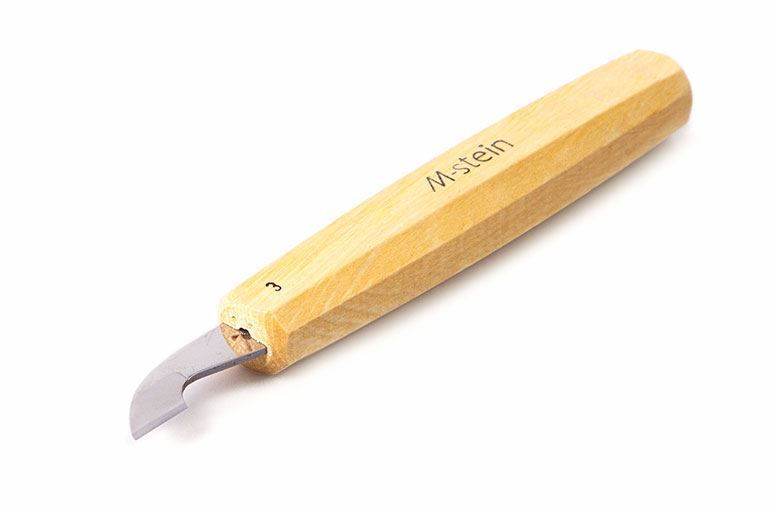
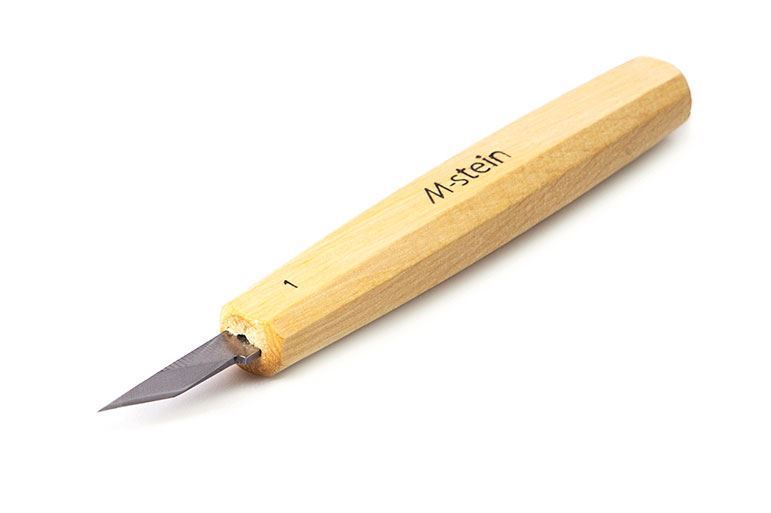
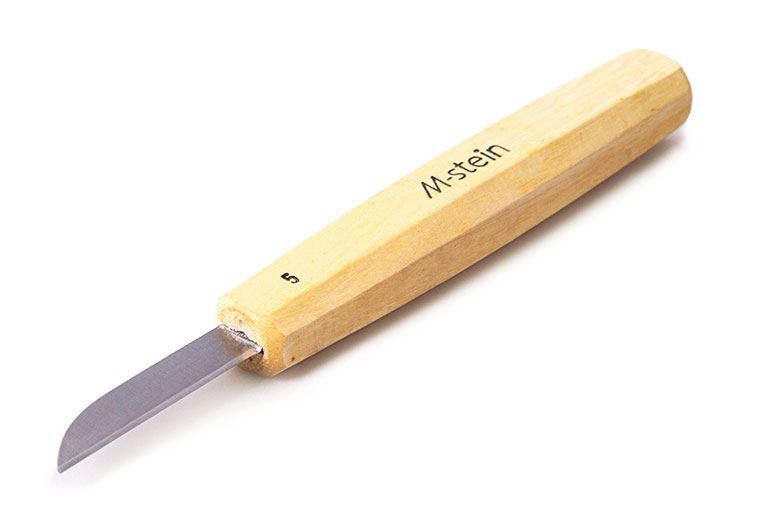
I have had it for over thirty years. The blades of both mentioned knives are already worn thin from sharpening. The size and shape of this knife, when properly held and guided, rarely leads to injury. The N1 knife is very efficient and well-suited for fine work, trimming small areas and notches or carving a face, especially with relief figural creation. It requires careful and accurate work. For decorative carving of various staffs, columns or edges of boards or for deeper chip carving, an N5 knife with a blade length of 57 mm or an equally long N6 knife with the opposite rounding of the blade is suitable. When you have both, make sure to mark the N6 so that you do not cut your thumb when pressing on the top of the knife if you accidentally switch them.
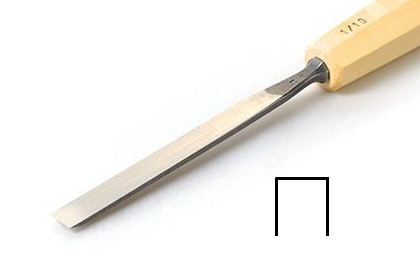
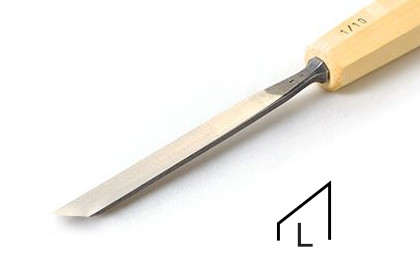
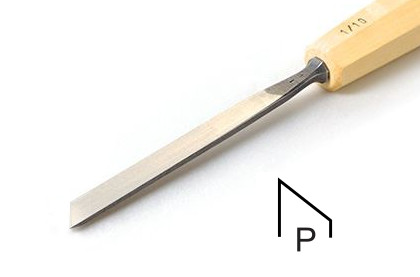
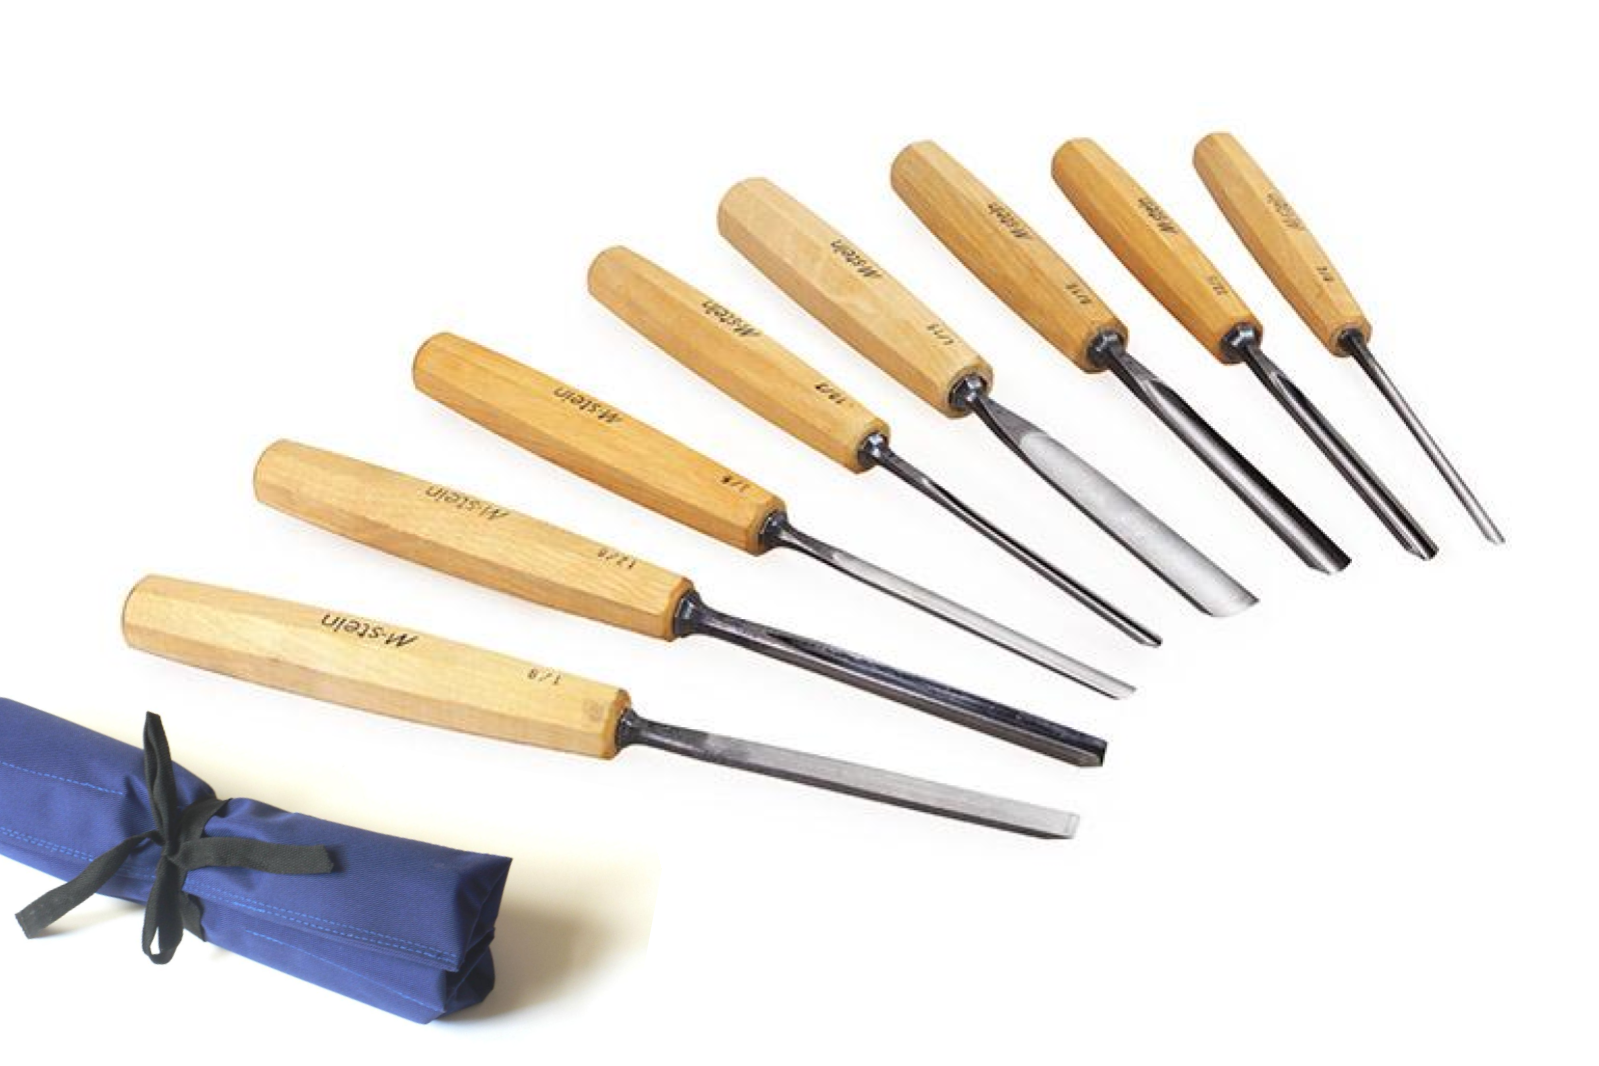
Naturally, more complex carvings, such as ornaments or figural reliefs, or even sculptures of larger proportions require work with a chisel or gouge. The fact is, that a knife, although capable of carving much, cannot get everywhere and the work with a gouge or chisel is sometimes faster. And so, it helps to have some gouges at hand even at the beginning of wood carving. There are two ways to carve with a chisel or gouge. The first is to carve with pressure and the second by using a wooden mallet or rubber mallet. But basic chisels and gouges are enough for the beginning – I started with a straight narrow woodcarving chisel, but nowadays I mostly use two straight flat R1/10 chisels 10 mm wide (the reason I have two is to have one spare, in case the one becomes blunt, so I don’t have to interrupt my work) and one skewed M-stein R1/10 chisel. It is useful to have two of them, one with left and the other with right skewed blade.
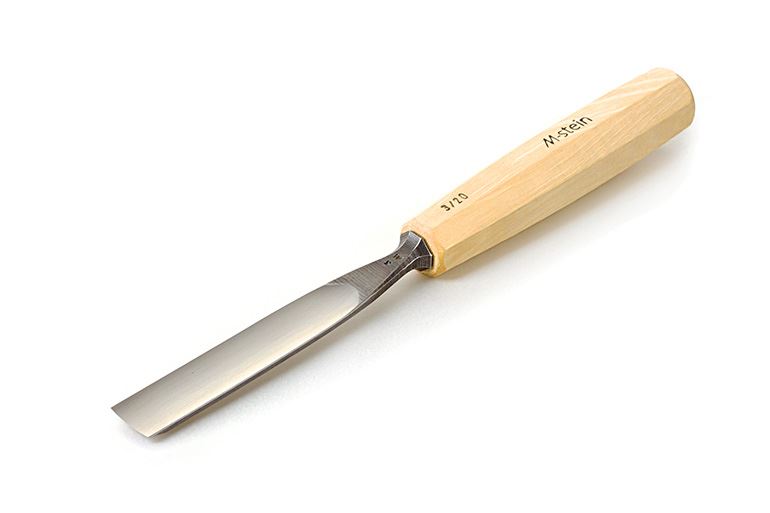
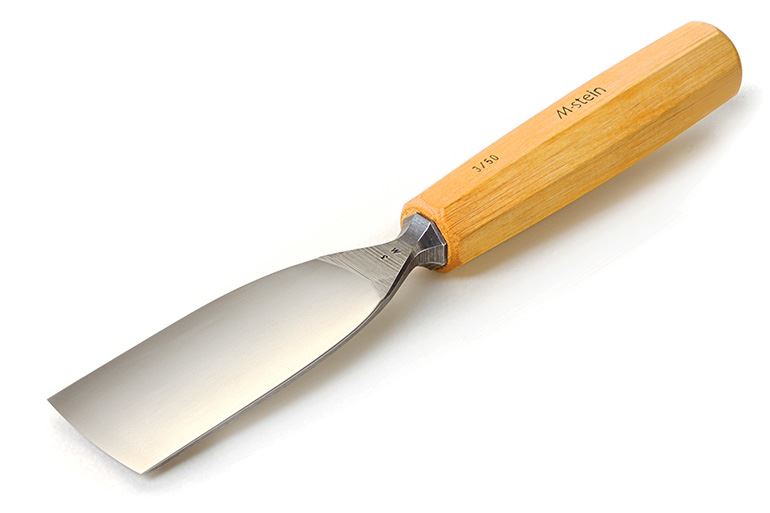
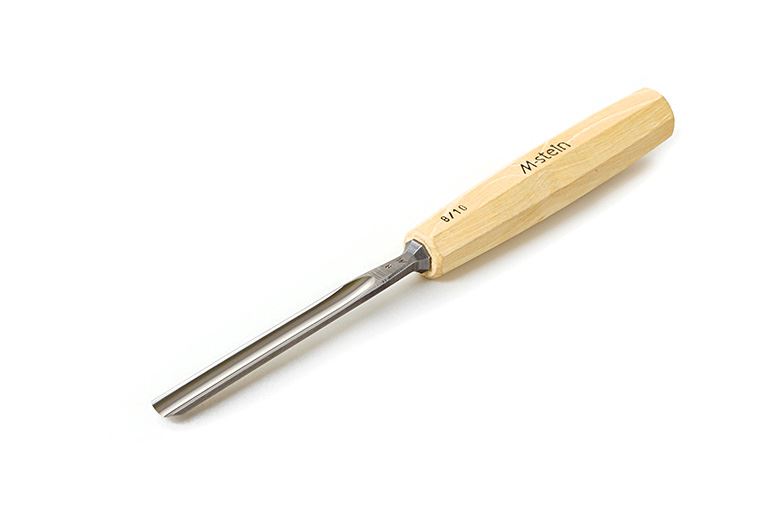
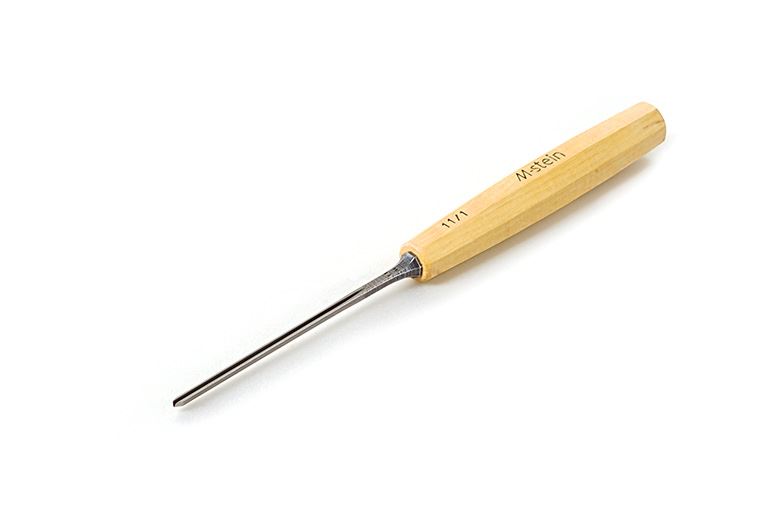
In our courses, a slightly bent sweep 3 gouge with the blade width of 15 or 20 mm worked for me. I made large sculptures with this profile (sweep) in a width of 50 mm with the help of a wooden mallet (‘’kyjanička‘‘) and it also proved useful for smoothing surfaces on smaller reliefs. A 10 mm wide sweep 8 is suitable for removing unnecessary wood mass and a 2 mm wide sweep 11 is great for finer wood carving. I also recommend a V-shaped sweep 12 with 60° angle in width of 3 and 6 mm or sweep 13 with 90° angle in width of 6 mm. But I would wait with the purchase of these until you gain some experience and they will really prove useful to you.

Which “woodcarving kit for beginners” would you recommend?
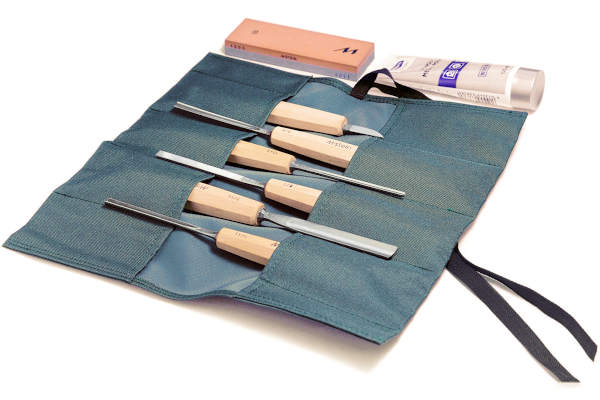
If you start by yourself without attending a course, then I would recommend ‘’woodcarver beginner’s kit’’ and then complete it with the above-mentioned knives N3 or N1. The chisels are smaller and the profiles (sweeps) cover the basic techniques of woodcarving. There are various knives and chisels available in the woodcarving basics courses, and over time you will see what you need and what tools suit you best. Later on, it may a good idea to own two pieces of the same tool type, so that you don’t have to interrupt your work in the heat of creation in order to sharpen blunt knives or chisels.


Various techniques of knife carving, historical examples.
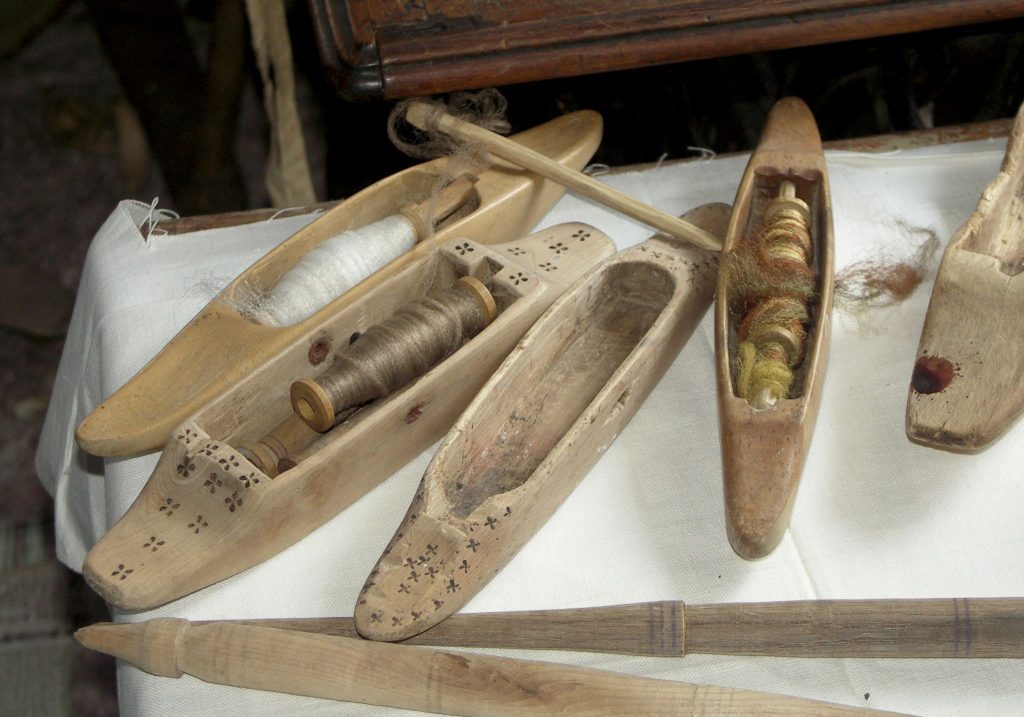
2. Plastic woodcarving (the handle of „črpák“– traditional Slovak shepherd folk art wooden mug, DLM Zvolen)
2. Punching
3. Inverted woodcarving, collections of MĽUV Stupava
4. Chip carving
5. Grooving on a staff and linocut – distaff (“praslica slatinská lehôtka“ MľUV Stupava)
Photographs compiled by Martin Mešša

